Monday, November 29, 2010

An Adventure at Home Goods

This is a compensated review by BlogHer and HomeGoods.

Did you venture out shopping last weekend? Did you brave the Black Friday Sales??? We hit the stores Friday and found some great deals! I did not however wake up early to hit the 5 AM sales, a girl needs her sleep!!

One of my stops over the weekend was HomeGoods.  You see, HomeGoods sent me a gift card and charged me with the task of finding some great gifts for the people in my life.... Hello!! Dream come true!!  I love to shop and I was even more excited because I had not been to the Home Goods in our city yet.  I grabbed my girls and headed on over.

The question now became WHO to buy for?  You see many of my friends, my Mom and my Sister all read this blog... so shopping for any of them would not be a good idea, since they would surely see what I bought.

I decided to shop for my twins teachers. I have the hardest time every year coming up with ideas for the teachers and thought it would be great to have that gift "checked off" so early in the season.

When we got to Home Goods it was packed!! But the store was prepared, every check out line was open and I don't think I even waited 2 minutes to pay.  The lady who checked us out was very friendly and I had fun chatting with her a bit.  It was nice to see such nice employees on such a crazy shopping weekend!

Now I must insert a little "plea" in here to the people of Home Goods. Our store, the Louisville Kentucky store, is shared with TJMaxx and Home Goods is just in the back corner. Not nearly enough space for all of the awesome things...  The stuff they had is SOOOOO cool and at such awesome prices! A big store would do so well in my area, we don't have anything else like it- So can you please please build a dedicated Home Goods in my city??? Oh how I'd love you!  I even know the perfect spot!


We started browsing... one of my girls wanted this giant Christmas ornament... clever, but we decided on something else for the teachers...

My other daughter wanted a new lamp for her room...

such beautiful ones to pick from but we were determined to stay on task.

Here's what I came home with...


Le Creuset bread pans for the teachers... Hello Le Creuset for $14 score! I knew that all of my kids teachers were big bakers, so I thought Le Creuset would be perfect!  I grabbed them quickly since the lady next to me was "eyeing" them... I'm going to bake my mom's famous Lemon Bread (in a separate pan) then put it in the loaf pans and tie them up fancy for the teachers. (come back later and I'll have the recipe and photos of the gifts all "fanci-fied").


I love the Robert Best Barbie illustrations.  My oldest daughter has some large prints framed in her room.  I grabbed this set of note cards and this beautiful frame. I'm going to frame my favorite one and stick it in my daughters stocking this year. (I was sneaky and sent her to look at the shoes while I snuck this one in the cart).

These gorgeous vintage gift bags!! Some of the gifts I have planned for my friends will fit perfectly in these.

Are you stumped for holiday gift ideas? Check out the BlogHer HomeGoods roundup page. You can see what others are buying and get some great gift ideas!

Want to learn more about home goods or find one in your area? Click here to find out.

Okay.... Now there is some awesome news for YOU!!

HomeGoods is giving away a $50 gift card to a lucky reader!!


Just leave a comment on this post and let me know who you'd buy for if Home Goods sent you a gift card!
Rules:
No duplicate comments.
You may receive (2) total entries by selecting from the following entry methods:
a) Leave a comment in response to the sweepstakes prompt on this post
b) Tweet about this promotion and leave the URL to that tweet in a comment on this post
c) Blog about this promotion and leave the URL to that post in a comment on this post
d) Read the official rules for alternate form of entry.


 Sweepstakes ends at 5 PM PST on December 29, 2010

This giveaway is open to US Residents age 18 or older.
Winners will be selected via random draw, and will be notified by e-mail.
You have 72 hours to get back to me, otherwise a new winner will be selected.
The Official Rules are available here.

Also- you MUST leave a way for me to contact you in your post! Otherwise how can I find you to tell you if you win?

GO ENTER!!

Thursday, November 18, 2010

Christmas Cards Quick & Easy...


I used to make my Christmas cards every year. I would never start early enough, plan too large of a project,  then stress out like a crazy person because they were not done in time.

A couple of years ago I learned my lesson.  After "biting off more than I could chew" in the Christmas card department, they never got mailed.  That year instead of Christmas cards, I ordered Valentines from Shutterfly.  Most people said it was a nice little "surprise" in the middle of dreary month (oh how I dislike February!)

I was able to personalize the cards with photos of our family and a little bit about what we had done that year.  It was so easy and the cards came out so nice, that I decided that my years of making cards were over.

Over the years our Christmas card list has grown. Which only makes sense, as we have gotten older our circle of friends has expanded and far too many friends have moved away. It's just not as "do able" to make cards any more.

Let me tell you, printed photo Christmas cards have come a looong way in the past few years.  Gone are the days when you only had one or two "styles" to choose from and neither one seemed very good.

Not only can you now get great professional looking photo cards, you can also get more traditional folded cards too!  Last year we got PRINTED folded cards, they were printed on high quality card stock and looked like they had come straight from a professional printer, (but at only a fraction of the cost)

Shutterfly has got an AMAZING assortment of Holiday Cards to choose from this year.  They have really "stepped it up" in my opinion!

You can see their entire assortment of cards HERE

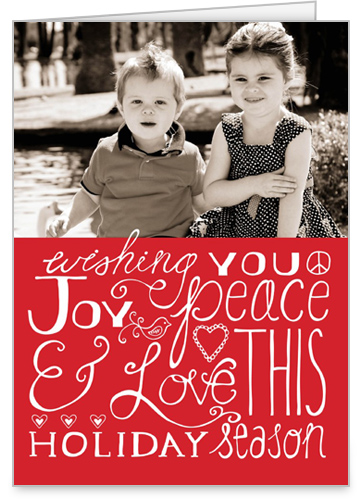
They have my personal favorite, folded Greeting Cards...
I'm leaning towards using this one this year... 

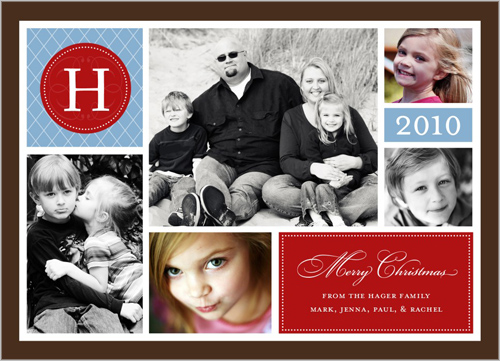
which are flat (not folded) but printed on cardstock instead of photo paper...
This one caught my eye...

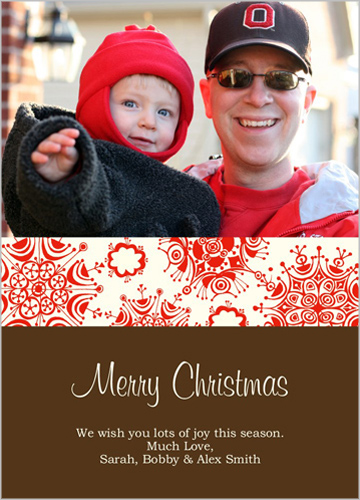
and
Traditional Photo Cards...
which are beautiful and very economical, especially if you've got a lot of cards to send out!


This post has been sponsored by Shutterfly, but regardless of that I can tell you honestly that' I've been ordering from them for years and have always been very very happy with their product and service.

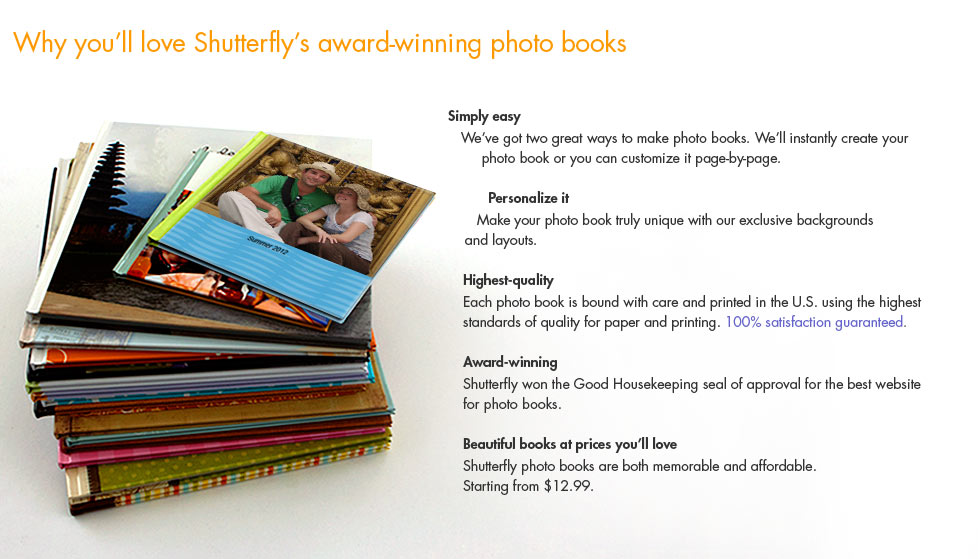
I usually order their photo books... they are a favorite of mine, quick and easy to make and they give you great results.

A few years ago we went on a big family cruise to Europe.  When we got home I complied all of the photos we took and made them into a photo book. I gave them to our family members that year for Christmas.  The book came out great, and I'm really picky about print colors/photo quality.
my actual book, it's still on Shutterfly, I can order more if want.

Now all I have to do is decide which card I like the best...that could take a while...

*this post has been sponsored by Shutterfly*
*are you a blogger? want to get 50 free cards from Shutterfly? click here to find out more*

Monday, November 15, 2010

New Giveaway, MB Sprout!!

Hi There!!

I've got another great giveaway for you guys today!  The Holidays are approaching and I love to support handmade businesses!

Today MB Sprout has generously offered to host a giveaway for Polkdaot Chair readers!

Here's a little bit about Ashlee the owner,


My name is Ashlee and I am new to the blogging 'craft' world. I have always enjoyed crafting in my spare time, but have learned to really love sewing since having my kids. I am a stay at home mother of two children. I have a 4 year old daughter and a 1 year old son. MB Sprout was started and named after my kids. I hope to someday have MB Sprout more well known in the craft world, and am slowly working on tutorials and pattern's that I hope to sell. Once the patterns are completed I will eventually discontinue the items I currently sell since it is easier to sell patterns, then make a thousand of them (especially with the little ones running around me).


MB Sprout sells beautiufl hand sewn items including:


-Nursing Covers 
-Aprons
-Car Seat canopies
-Minke Lovies
-Burpies


Today Ashlee has generously offered to giveaway one of her Car Seat Canopies!! I would love to have had one of these when my kids were babies!!


This one is specially designed to keep the wind off those precious little ones!!


To enter to win this canopy do the following,


1- Leave a comment on this post, what's your favorite item in the MB Sprout Store?
2- Follow the MB Sprout Blog, leave me a separate comment and let me know you did!

US residents only

Giveaway ends Friday Nov. 19th at noon Eastern time.

GOOD LUCK!!!

Monday, November 8, 2010

Chalkboard Placemat Tutorial

Don't forget, you have until noon Wednesday November 10th to enter the Silhouette products giveaway!! It's just below this post!

My sister reads this blog. This is great, yet poses a problem for me. She's not going to be surprised when she gets these for her kids for Christmas. Oh well, I think she can learn to deal with it, and I don't believe her 5 & 3 yr olds read my blog.... and I know for sure that little Ruby, her tiny baby girl does not read it... so at least on person will be surprised on Christmas morning!

Hi There! I'm so excited to share with you one of the projects I made from my Silhouette products bundle!


I've wanted to make a chalkboard placemat FOREVER! There are so many cute ones that I have seen people make in blog land... This is my version of it.  I  even had the fabric in my "stash" for a while... yes, there is such a thing as chalkboard fabric!

I wanted to personalize them but could not figure out how to do it. So I set the project aside for a bit.  After I got the iron on vinyl from Silhouette I thought it might work.... so after a little "experimenting" I was able to iron the vinyl onto the placemat!!  There were a couple of "tricks" but I'll so them to you.  I know you have thought about the iron on vinyl for t-shirts but it's really really cool on chalkboard fabric too!


The placemat rolls up for travel. It would be great to take to restaurants! It's also backed with iron on vinyl so it's 100% wipe proof!


Okay to start. You need the following things.

- 14"x18" piece of chalkboard fabric
- 14x 18" piece of fabric (I used a fat quarter)
- 14"x18" piece of iron on vinyl
- 3" x 5" piece of fabric
- 3"x5" piece of iron on vinyl
- Silhouette smooth heat transfer material
- chalk
- pinking attachment for your rotary cutter
- ribbon


To cut your heat transfer material, leave it on the roll and feed the end of the roll into the cutter, this way you don't waste any.

Cut off the piece that you cut.

IMPORTANT! When you use heat transfer material, make sure your image is mirrored, AND cut with the non-shiny side up!


Remove the extra from around your cut out.  You will have something that looks like this.


Place it onto your placemat piece. About 1" in from each edge.

Turn the chalkboard fabric UPSIDE DOWN and iron the heat transfer onto the fabric from the back! Don't put your iron on top of the black chalkboard fabric, it will leave a permanent mark!

Only iron enough to stick the heat transfer down... don't leave the iron on too long. Where the transfer backing was on the chalkboard fabric will leave a little bit of a mark, but it will be covered up with chalk as it's used. 


Peel off the backing, you'll be left with your cut out piece.

Iron the 3"x5" vinyl piece onto the 3"x5" fabric piece. Cut out with pinking rotary blade.  Pin to placemat 1" in from the side. Stitch down around 3 sides to make a pocket.


Iron the vinyl onto your cut piece of fabric.
Layer your chalkboard fabric and backing fabric wrong sides together. You can use a bit of spray adhesive if you need to hold the layers together. 

Stitch around the edge of the placemat about 1/2" in from the edge.  I used a walking foot and it worked great! If you don't have a walking foot I would recommend a teflon foot to help the fabric glide easily.  Leave a small opening in one side to feed your ribbon into.


Using your pinking rotary trimmer, trim all the edges.

Cut a piece of ribbon about 18" long. Fold in half and stuff into the opening you left in the side. Stitch opening closed.


Last step, "prime" the chalkboard fabric with chalk all over. Wipe it off and it's ready to go!

When I give these as gifts I plan on giving them with big chunky chalk, so the pocket is big enough for that.

**edited to add***
*1- It is Vinyl Chalkboard Fabric, I got it at a local Fabric store, it's 60" wide and sold on a roll
*2-If you don't have an e-cutter, just cut the letters out with scissors, you'll need a light box. You also need to stick the letters on one at a time, instead of using the transfer paper.
*3- I doubt it is embroidable, it's vinyl and I think all the little "holes" poked by the embroidery machine would just cause the letters to pop out.

Monday, November 1, 2010

Silhouette Products Giveaway!!


Okay guys, I will admit that I bit the bullet and bought a Silhouette machine.   I was on the fence for a while because I'm a Mac user and their software was not Mac compatible. BUT NOW IT IS!

I got the machine and can tell you that it was easy peasy to set up and the software is amazing and very very user friendly!

One of the things that made me decide to go ahead and get the machine was the option to buy only one image at a time. Most are about .99 and they run specials all the time.

I was very excited to open up the "store" in the Silhouette software and see all of the designs that you could download! Let me tell you, they are DANG cute!  Since I had the option of only buying one at a time, I got some fun Halloween designs. I knew I didn't need a bunch of them and I didn't feel like I needed to spend money to buy designs that I knew I would probably never use.


Okay so what use are all of those cute images if you don't have anything to use them on? I mean you've got to get it off the computer and put it somewhere....

Silhouette ALSO offers great products to "cut out"... there is vinyl, fuzzy vinyl, heat transfer vinyl, magnet paper etc... When I saw all the things they offer the little creative "gears" in my brain started churning.

Silhouette being the nice company that they are, sent me a package of things to "play" with.  You'll see some fun tutorials coming up using some of it. But for now....

Silhouette is giving away the same stuff to a LUCKY READER! They are giving away:


Silhouette is Giving a $50 Bundle Package away for FREE! 
And it includes...

2 Heat Transfer Rolls {Yellow & White Smooth}
1 Tattoo Pack
1 Magnet Sheet

Now, you may say.... what can I do with that I don't have a machine... well the cool thing is you can just cut it with your scissors. (or with other cutters you may already have)..I'll be showing you a idea that I came up with that didn't use the machine.


These are some of the cute things that are made using the heat transfer vinyl and magnet paper! You can find these on the Silhouette blog (all the images are from there) along with a lot of other really cute ideas!

Okay so here's the rules:

-US residents only
-Open Nov 1- 10th noon Eastern time

To enter:
Leave a separate comment for each item you do:

1- Leave a comment on this post, let me know what you would make with the gift package.
2- Visit and subscribe or follow the Silhouette Blog!


Wait one more thing...


A DISCOUNT to the Silhouette store!!!


Enter the code CHAIR  at checkout and get 25% off all accessories! {good til midnight Nov. 13th}


*you can only win once. So if your lucky enough to win this giveaway on more than one blog you just get one prize package *


LinkWithin